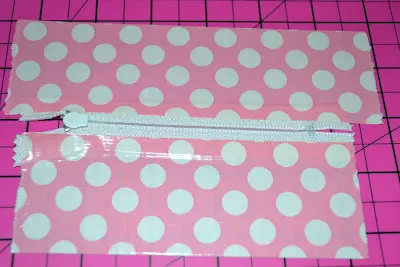
Start with a zipper the width you would like your wristlet to be. On the inside of the zipper apply duct tape slightly longer than the lenth of the zipper on each side. (I’m working on a self-healing cutting mat-those work well with duct tape since it’s easy to remove the tape.)
Slightly overlap two pieces of tape, then flip everything over. This side is the outside of the wristlet.
Cover the outside with duct tape, too.
Trim everything up into a neat shape.
Use a piece of tape to create the wrist strap. Measure around your wrist and add approximately four extra inches.
Tape the ends on the strap together.
Then securely tape the strap to the inside of the wristlet.
Tape around each edge of the wristlet.
Open the zipper and turn the wristlet right side out.
Seal around each edge of the wristlet on the outside.
And apply one more layer of tape neatly around the wristlet, taking your time and making sure you match up the edges on all prints.
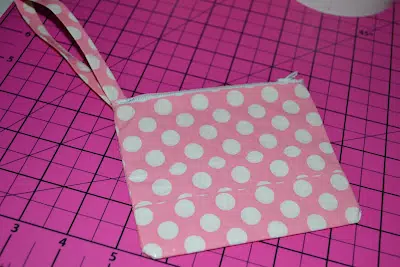
The finished wristlet is sturdy and cute-and completely customizable!


