This post contains affiliate links.

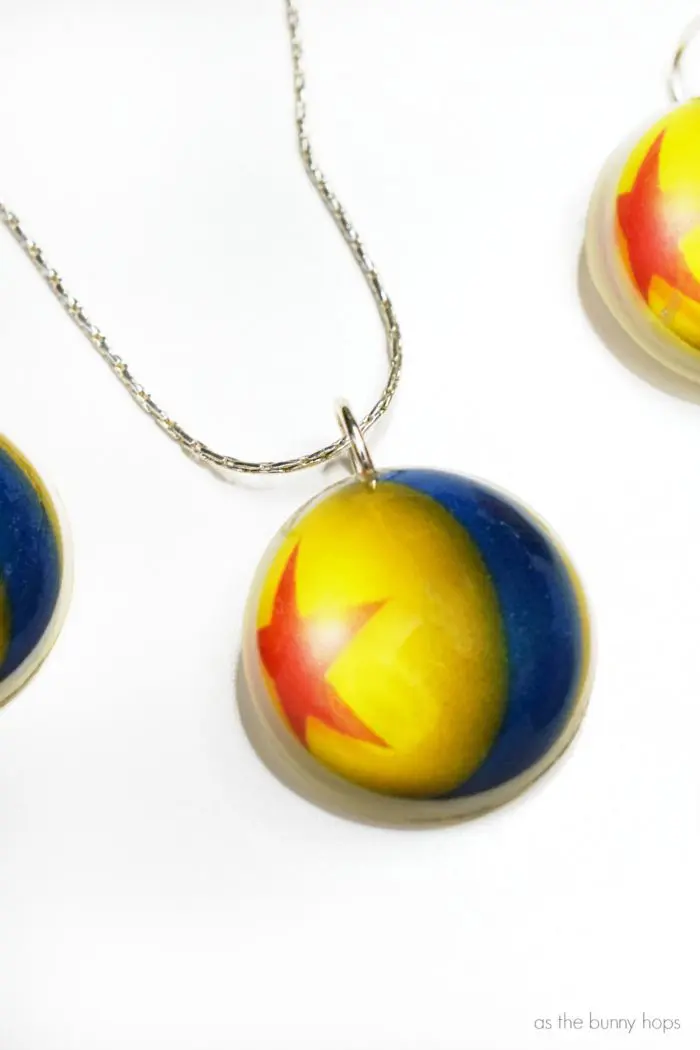
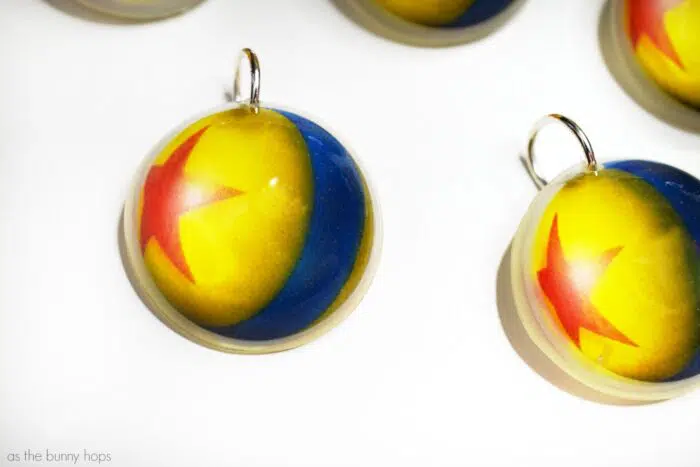
I’ve known for a while that if I was ever lucky enough to visit the Pixar campus, I was going to bring Luxo Ball charms for everyone. When the invite arrived for #PixarCocoEvent, I immediately got to work! The iconic Pixar Ball was just crying out to be recreated in my cabochon mold with some resin.

To make your own Luxo Ball charms, you’ll need:
- Template
- Resin
- Cabochon Mold
- Transparent Printer Film
- White Acrylic Ink
- Stir Sticks
- Large Jump Rings
- Small Jewelry Drill
- Gloss Finish
- Silicone Measuring Spoons (Optional)
- Clear Plastic Cups (Optional)
- Heat Tool (Optional)
I used the exact same process I used for making my Cars 3 charms, so hop over to that post to get the full details on molding the resin.

Since I wasn’t dealing with multiple designs and failed batches (yay for almost mastering resin!), I was finished after only two batches of charms. I did rush a bit, so I had a little overpour and a lot of sanding to do once my charms were fully cured.

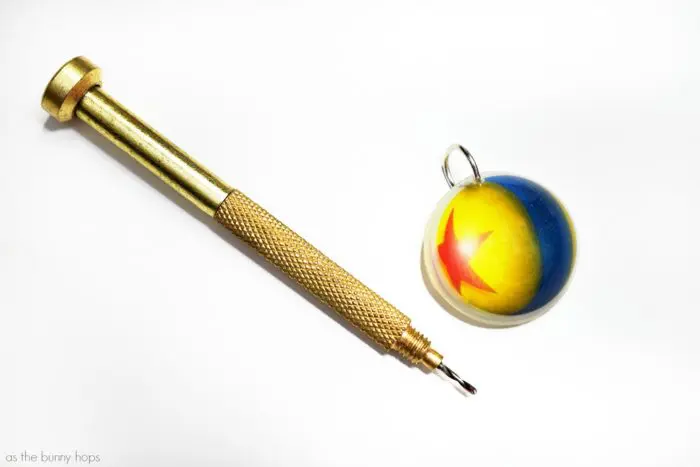
I used my power drill to make the holes for the jump rings in my Awesome Mix charms. That didn’t work on my Cars 3 charms so I used glue on bails. I found a jewelry drill at Michaels and I gave it a shot on my Luxo Ball charms and it worked…well…like a charm! You’ll need pretty large jump rings and you’ll need to hand drill at an angle, but I much prefer the look and cost of using jump rings to bails for this project.

I used a combination of gloss varnish and triple thick on each charm and I’m not sure which one I liked best. Either should get the job done to your satisfaction. Doing this after you’ve added the jump rings will give you something to hold while you brush on the finish.

Once the finish was dry, all that was left to do was add a chain and add them to my suitcase for #PixarCocoEvent! You can see the full history of Disney Gifts here. Don’t forget to follow along with all of the Coco Event coverage in the coming months!
Click the photo below to save to Pinterest.

Make your own resin charm inspired by Pixar’s iconic Luxo Ball!
